As mentioned in an earlier blogpost, you can now start with testdriving the new Skype Meeting Broadcast functionality. So I did 🙂
We’ll walk through setting up the meeting and have a look at what the meeting looks like for attendees.
Setting up and running the broadcast
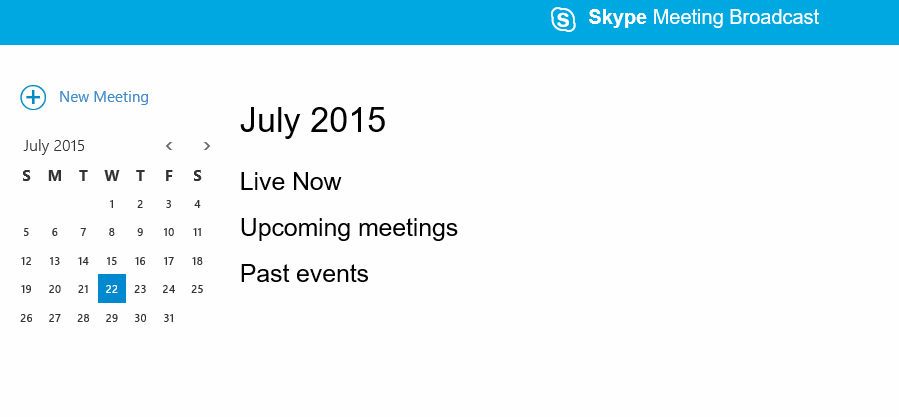
Once your tenant has been approved to use the preview, you can start scheduling your broadcasts on []https://sched.services.sype.net](https://sched.services.skype.net). From the calender view, you can click the ’new meeting’ button to… well, schedule a new meeting.
Once the meeting has been created, just click the pencil icon to change its properties.
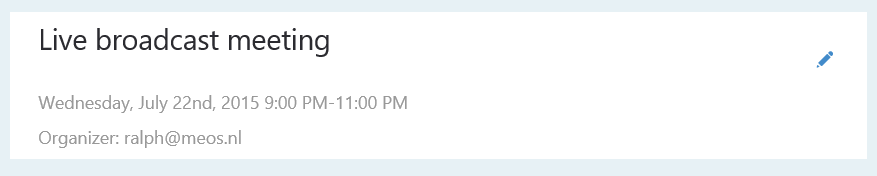
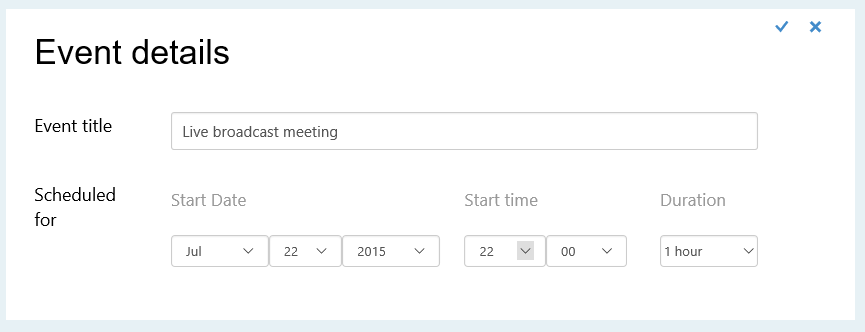
First of all, we can change the title and scheduling information for the meeting.
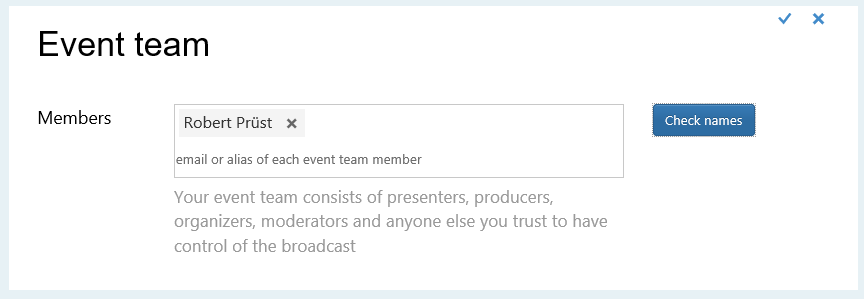
The next step is to add team members to the event. Team members help in producing the event, like switching video streams, managing incoming questions, etc.

Just click the blue bar and add people to your team. In this case, I choose to add colleague and Powershell-geek Robert to my broadcast team.
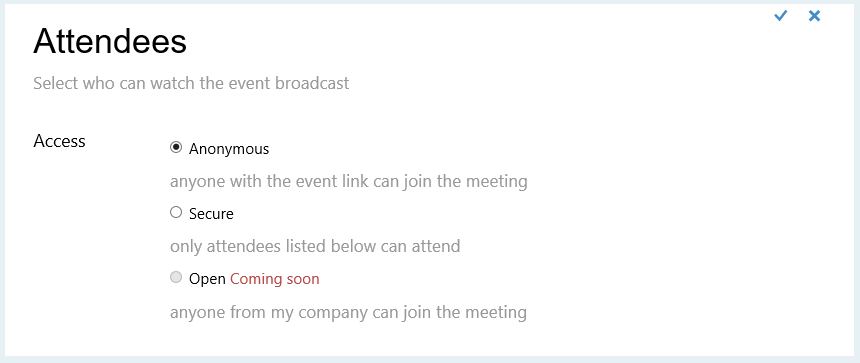
After defining the team, we set who can attend our meeting. Currently there are two options: anonymous (where everyone who has the link to the meeting can join) or secure, where we define explicitly who can attend the meeting. The third option, where the meeting is open for all people from inside the organization, will come in the near future.
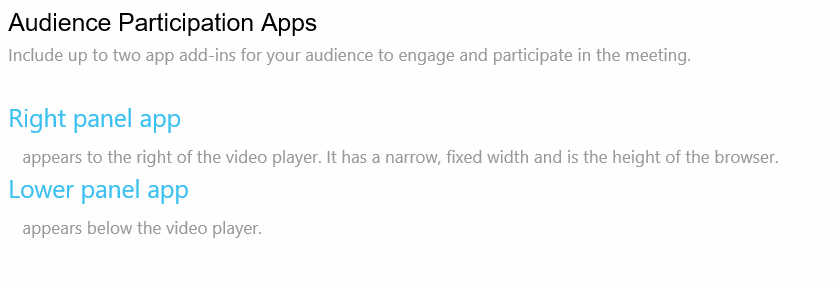
The final step is to customize the event.
![]()
We can set both a right or a left panel app, that we can use to interact with the audience.
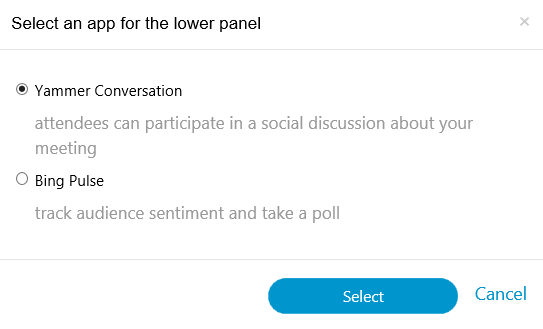
As an app to facilitate the interaction, there is a choice between Bing Pulse or a Yammer conversation.
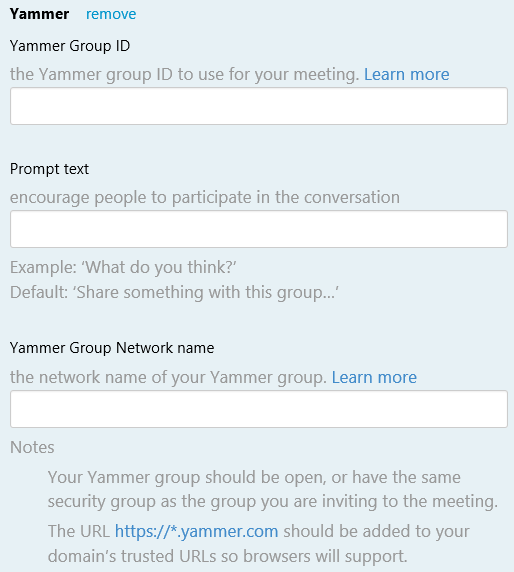
When, for example, a Yammer conversation is chosen, you supply the information for this conversation so it can be integrated into the meeting.
For this test broadcast, I dont set any integration. As i’m a nerd, I don’t like interaction with people 😉 On the same page, we can set the ‘support’ information to either the default help-link or specify a specific link to, for example, the company intranet.
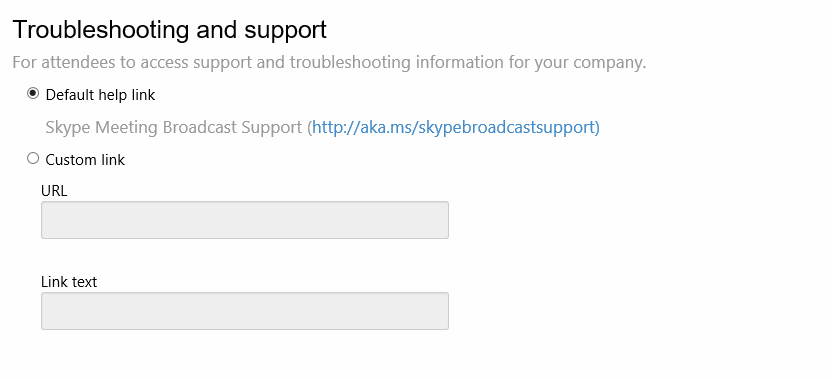
As the last step, we can add a custom link that will be visible to attendees. For example, we can use this to supply a link to the company website.

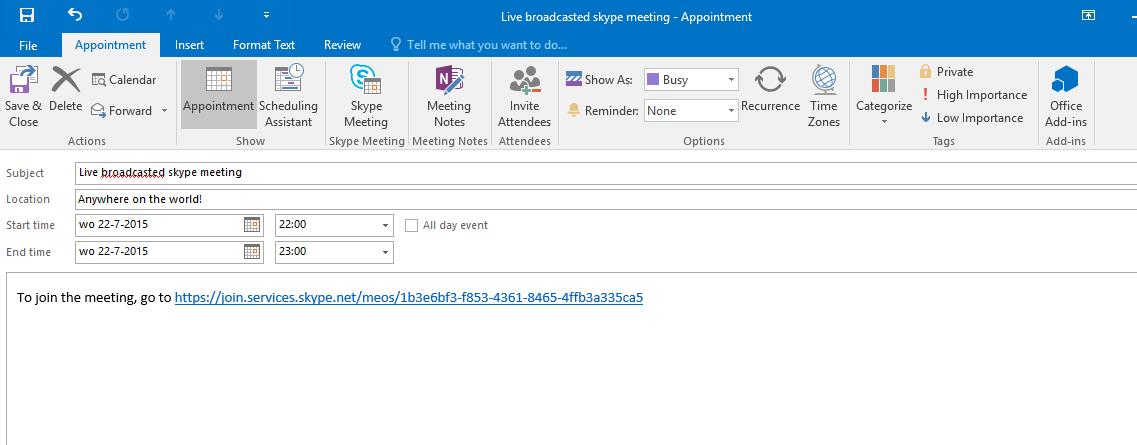
When done, we copy the event link for the event.

The scheduler doesn’t create an invite or calendar item, so we need to do this ourself. Simply create an Outlook meeting invite, select your participants and paste the meeting link into the invite.
Starting the event as an organiser
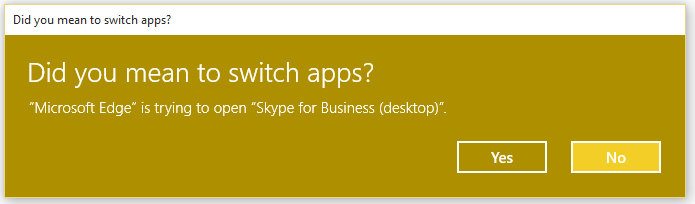
When it’s time to start the meeting, the team members simply log on by follwing the link and choosing the ‘sign in as event team member’ option.

Team members will be redirected from the website to using the Skype for Business desktop client.
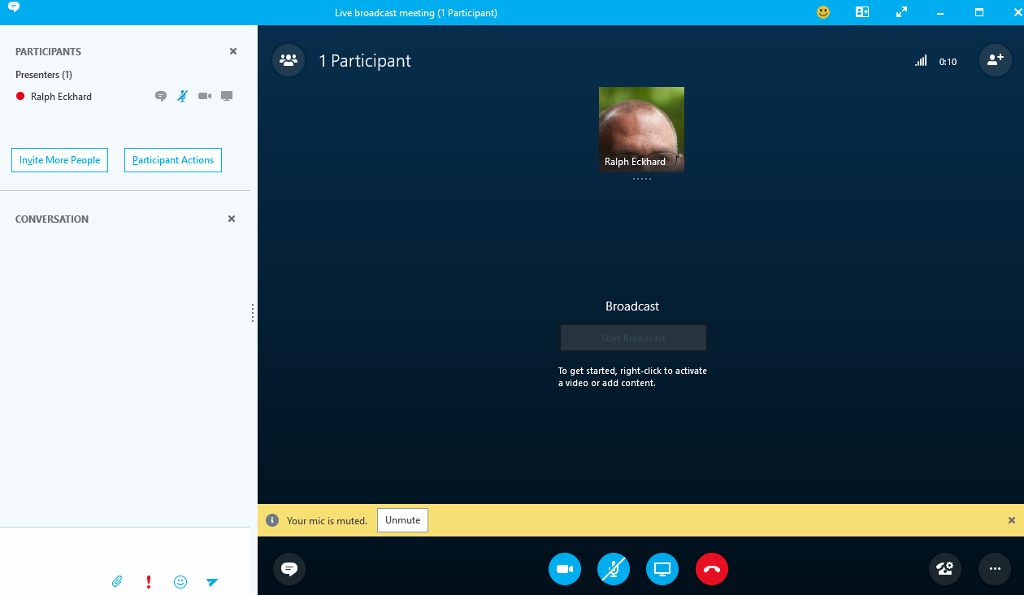
Once started, we get the regular Skype for Business client with the normal controls.
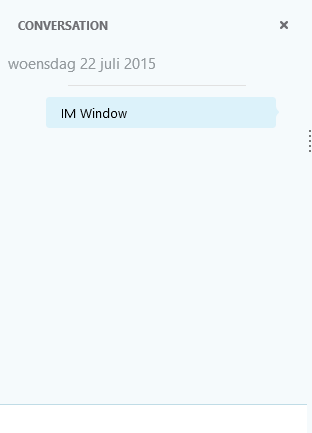
Within the IM window, we can IM with other team members that are producing the event. Those IM’s are not visible to attendees, so it’s a good way to coordinate the broadcast in the team.
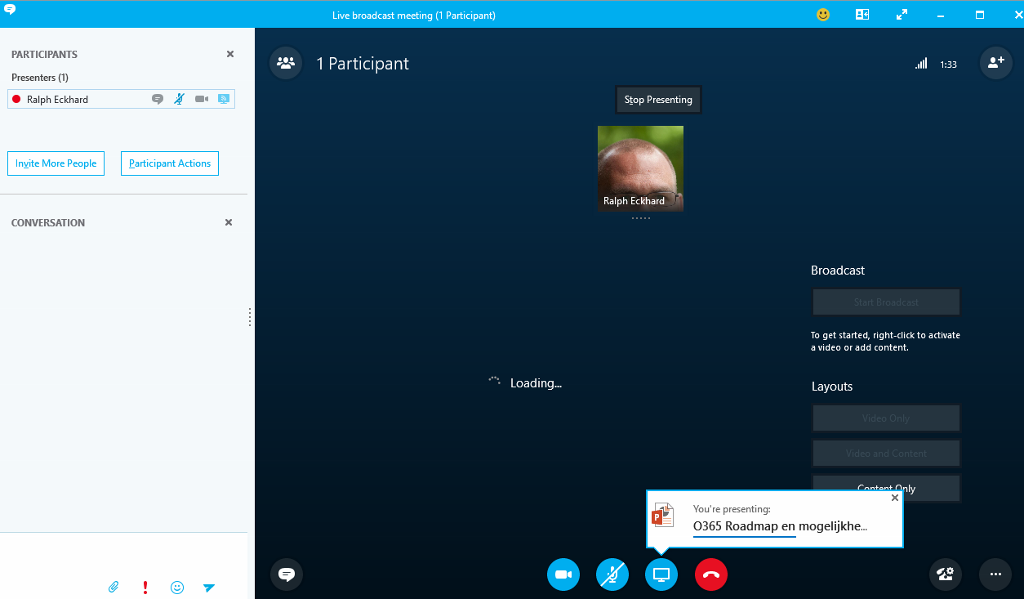
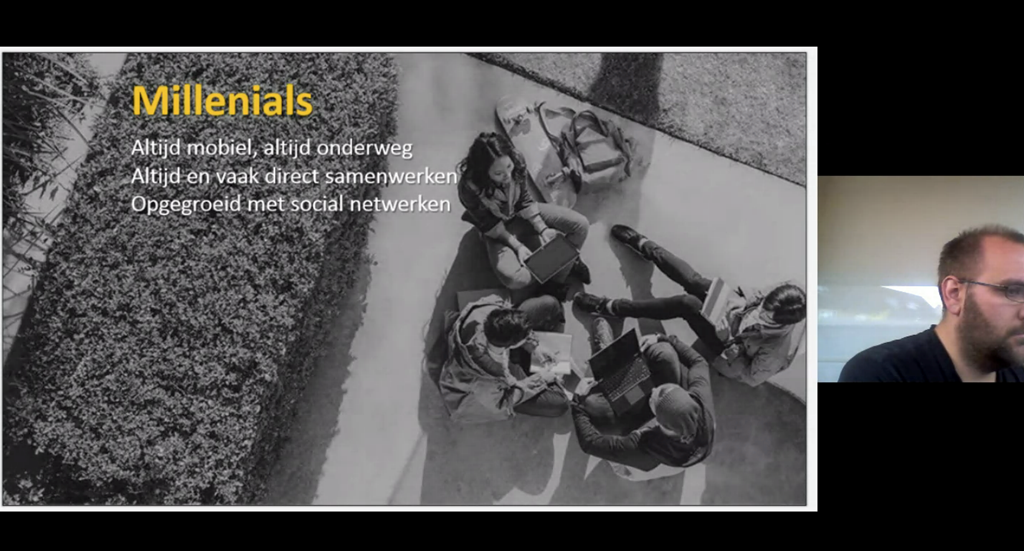
As the presenter, i choose to upload and present a Powerpoint file, just like I would normaly do in an online meeting.
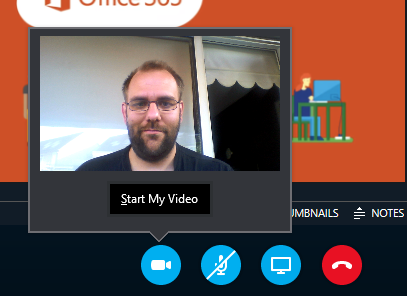
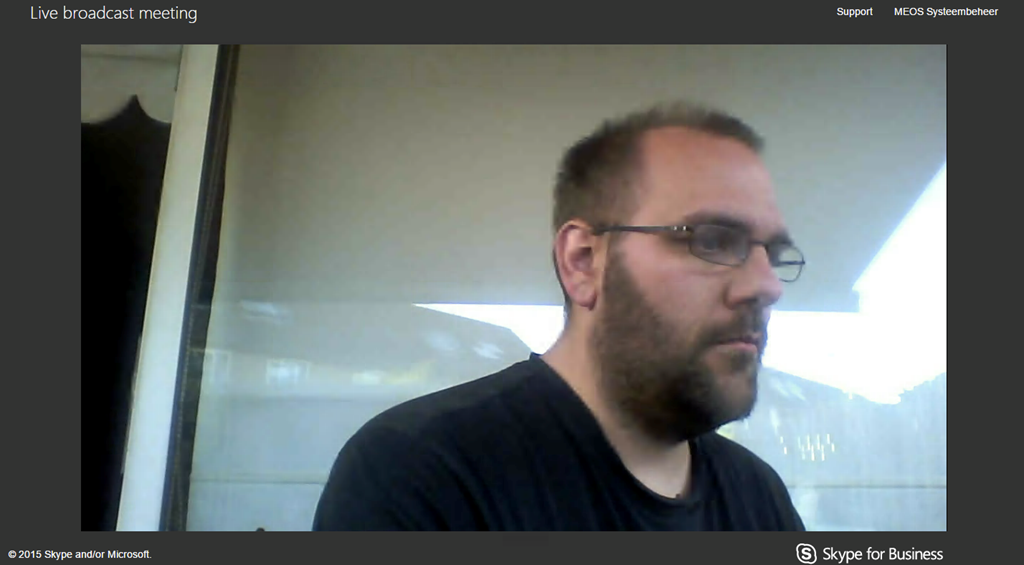
Next, i’ll start my video just like in a regular session.
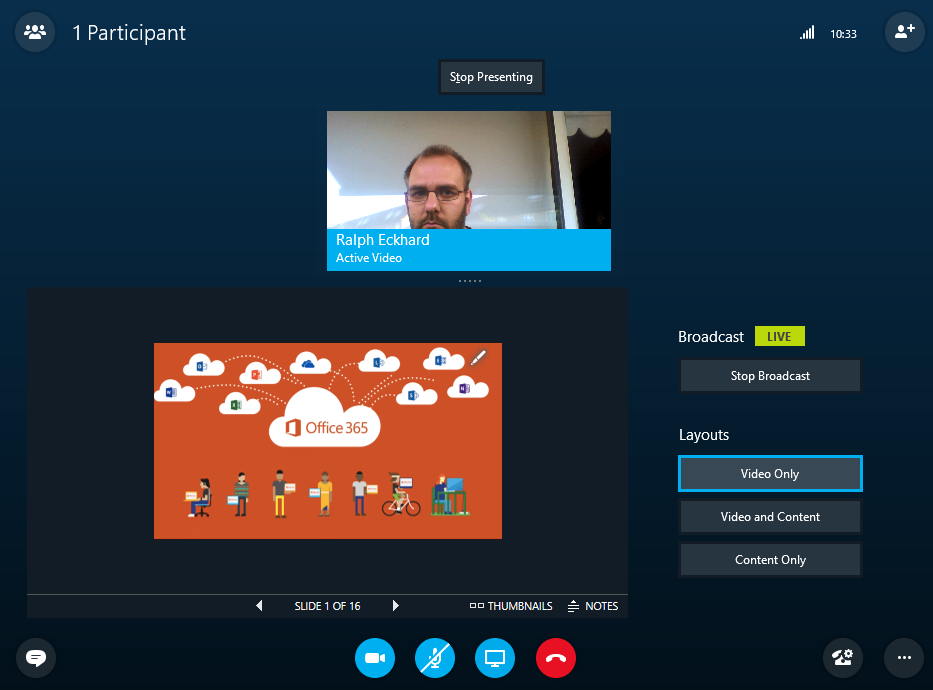
When there are multple presenters, the team members can choose the actual active video stream. This way, in a multi camera setup, one of the team members can take care of switching the actual camera’s.

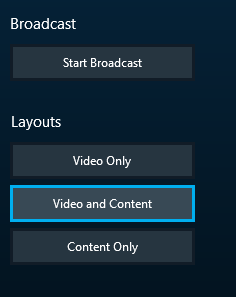
The last thing we do, is change the layout: only send the video stream, only send the active presentation content, or combine both. Ofcourse, this can be changed realtime during the event. Once done, we hit the start broadcast button to actualy start broadcasting.
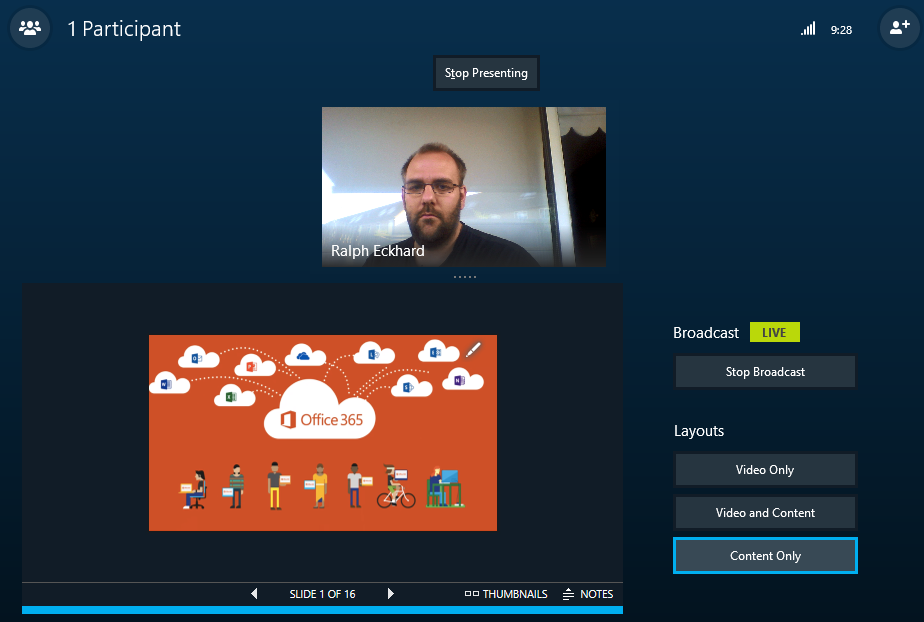
The team member in charge of switching the video streams and content can use the blue bar as a visualisation of what is actualy being broadcasted.

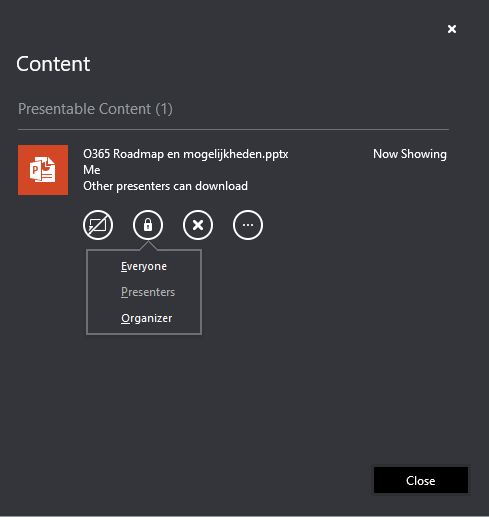
Also, the presentation content can be managed. For example, we can choose if the presented PowerPoint file should be available for download and if so, who will be able to do this.
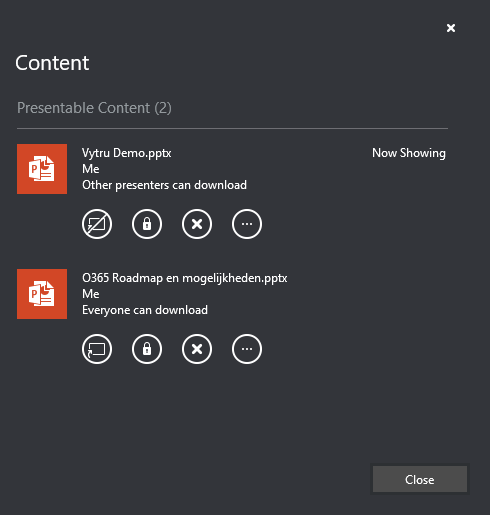
Ofcourse, multiple PPT-files can be made available within the broadcast. During the event, we can switch between these files to choose the one that is actualy being presented.
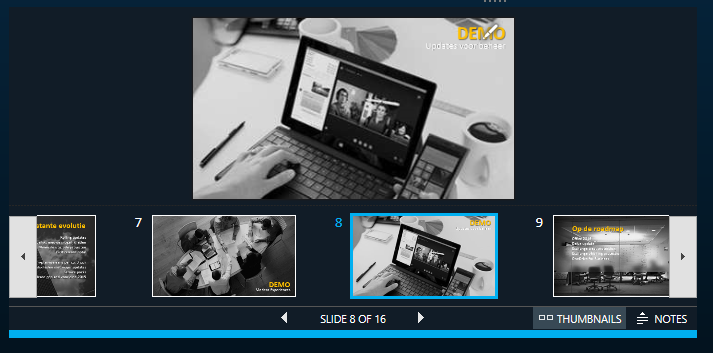
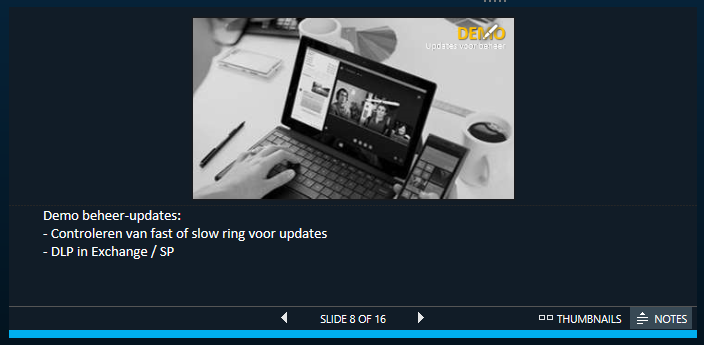
For the presenter, there is the ability to show the thumbnails for the presentation or the notes. These won’t be visible for the attendees, they only see the actual presentation itself.
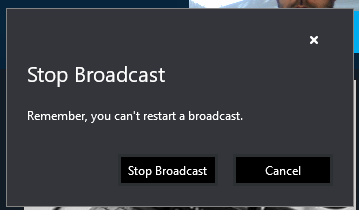
Once done broadcasting, we can click the ‘stop broadcast’ sign to stop broadcasting. Once the broadcast is stopped, it can’t be restarted.
Attendee experience
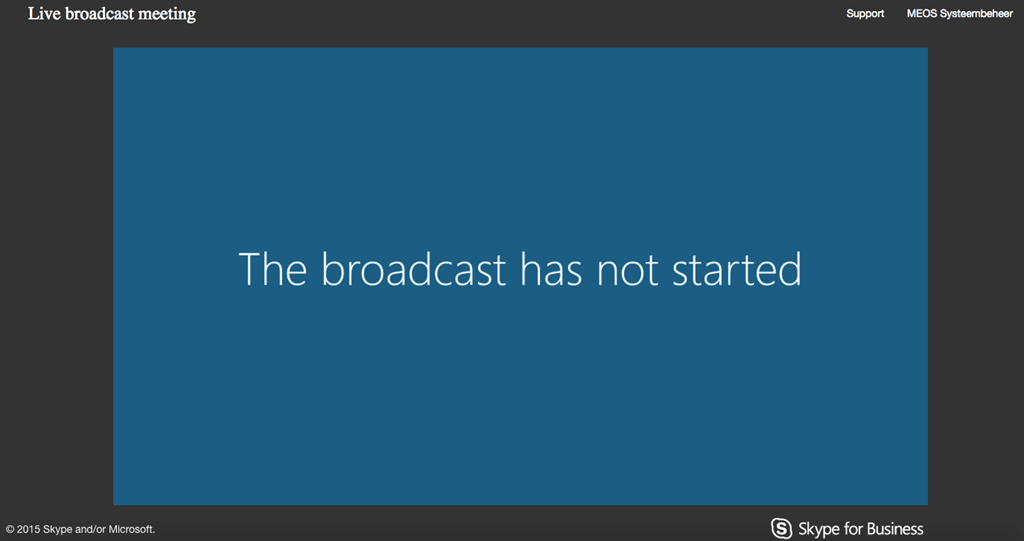
So what does this look like from the attendee side? Let’s check it out 🙂 We follow the link in our invitation and click the ‘join broadcast’ button. As we are attendees, the broadcast will be played completely from within the browser. The Skype for Business desktop client, even when installed, won’t be used. When we login, the broadcast team is still busy doing the final preparations, so we see a message telling us the broadcast hasn’t started yet.
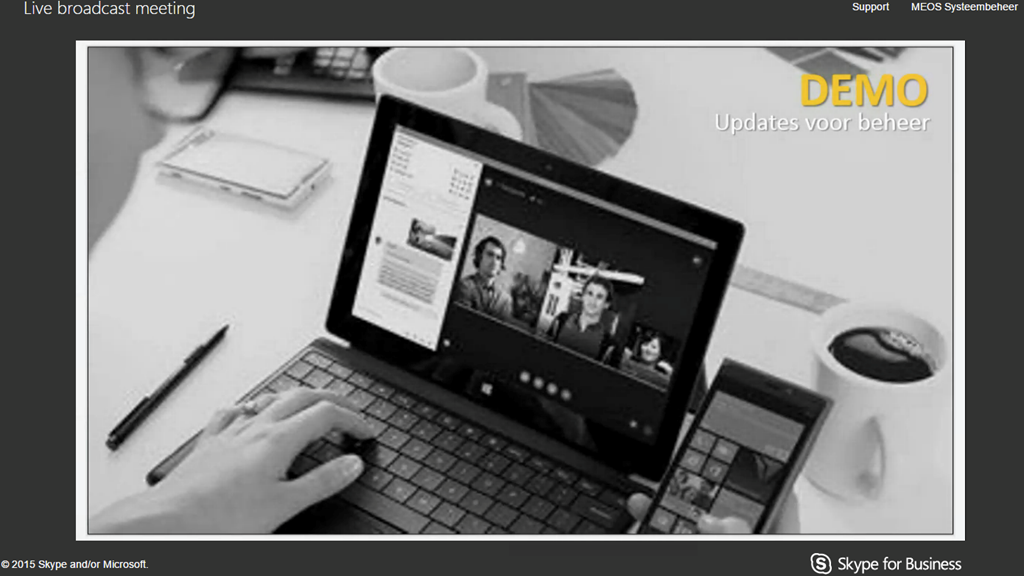
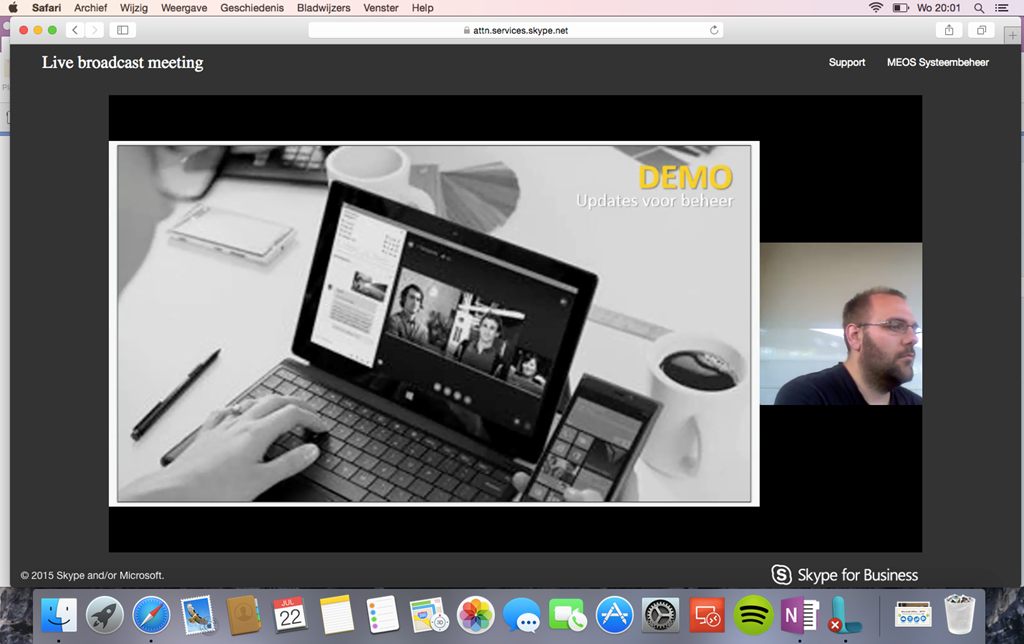
Once the meeting starts, we see the screens that the production team select from within their client. In this case, it’s a combination of the video stream and the presentation.
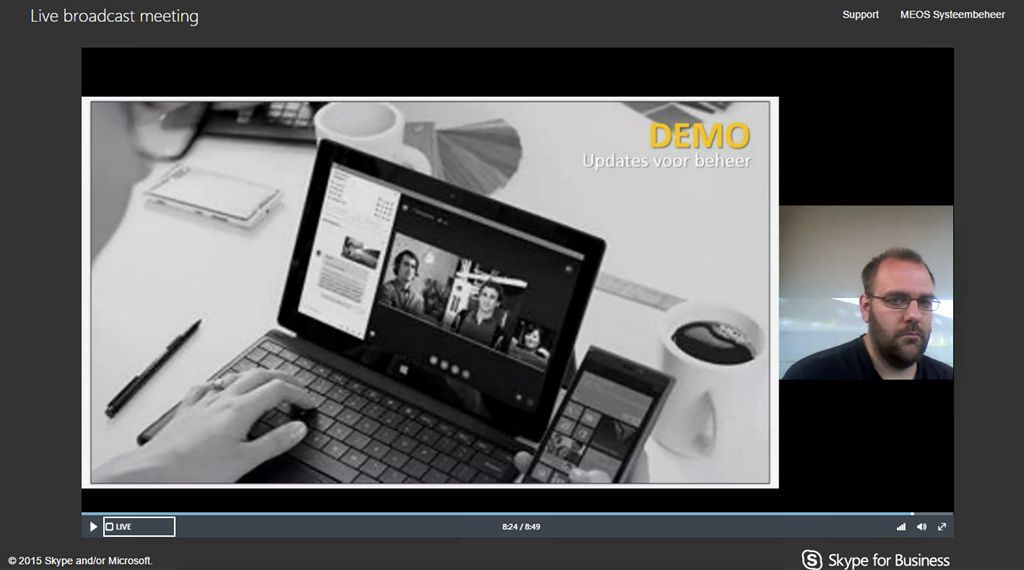
As you see, the custom link we added during the meeting setup, is displayed in the top right corner. With the time bar in the bottom, we can scroll through the meeting to actually skip back and forth. When hitting the ’live’ button, we go back to the actual live view that’s running at that time.
When the production team switches to full video or full content view, our view changes respectively.
And ofcourse, when the production team switches to a new deck of slides, our view displays the new deck.
As stated, the attendees watch the event straight from the browser. The above screenshots where taken using Google Chrome on Windows, but joining from a Mac using Safari works perfectly too.
Finaly, we can ofcourse switch to full screen mode within the browser with just one click.
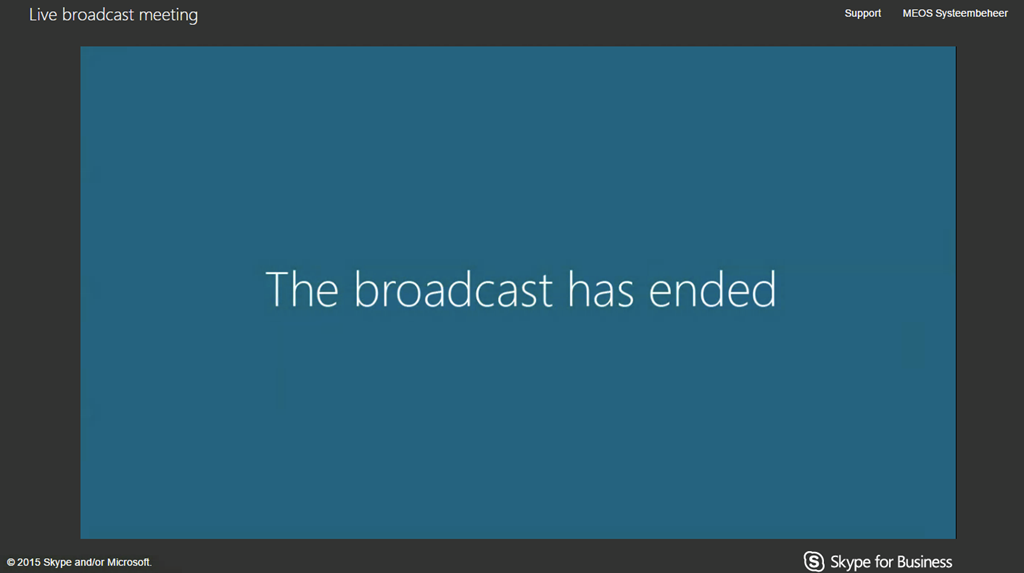
Once the meeting is over and the team stops the broadcast, a message stating that the broadcast is over is displayed.
Ofcourse, we can still use the time bar to scroll back and rewatch certain parts of the broadcast if we like.
After the meeting
Switching back to the organizer, after the meeting we can log in to https://sched.services.skype.net again to check on the meeting data.
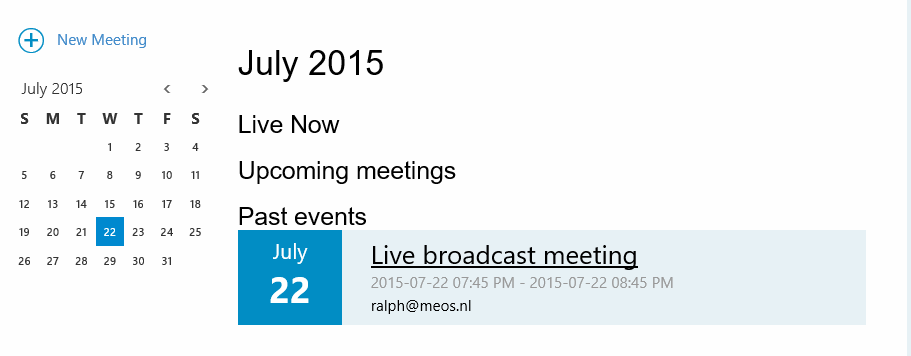
By clicking the meeting the name, we can check a few things.

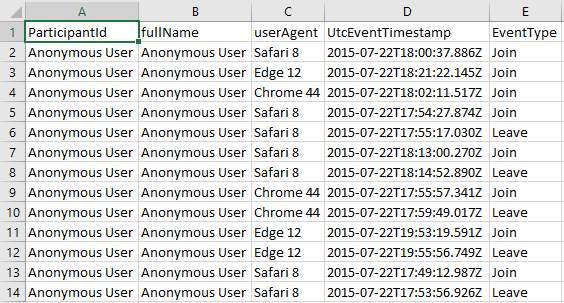
Note that the event link still works. You can rewatch the entire meeting when following the link. Second of all, we can download the meeting info as a CSV file. This will show all users in the meeting, with their join and leave time and the browser they used.
So that’s it. Rounding up, the Skype 4 Business team did a pretty decent job on this one, especially considering it’s just preview. It. Just. Works. Both as a presenter or team member or as an attendee, everything speaks for itself and works without any hazzle.
I can see this function quickly gain momentum within the online meetings, be it a webinar of some sort or a way to update your employees around the globe on the lates news from within your organization!