Last Friday I had the privilege to speek at a Dutch Meetup on Office 365 adoption. This really was a nice experience, as it was a small group of people sharing the love for Office 365 and just talking about what makes the platform so fun to work with but also what the pain points are.

I did my talk about the way we used Microsoft Forms and PowerBI to organise our company skiing trip. In stead of sending out calendar items in Outlook and afterwards ask everyone to email their details like contact information and diet wishes, we decided to use Microsoft Forms to do this inventory. Forms is one of the lesser known components in Office 365, but you can do some real magic with it. We created a form to collect responses from colleagues about whether they would be joining us on the trip. Using the branching feature, you can ‘guide’ people through the form. When people select the option that they will be joining, they will be asked about what they would like to eat. If they select the option they won’t be joining, they will be asked about their reasons why, so we can see if we need to adjust something to have more people joining us on the next trip.
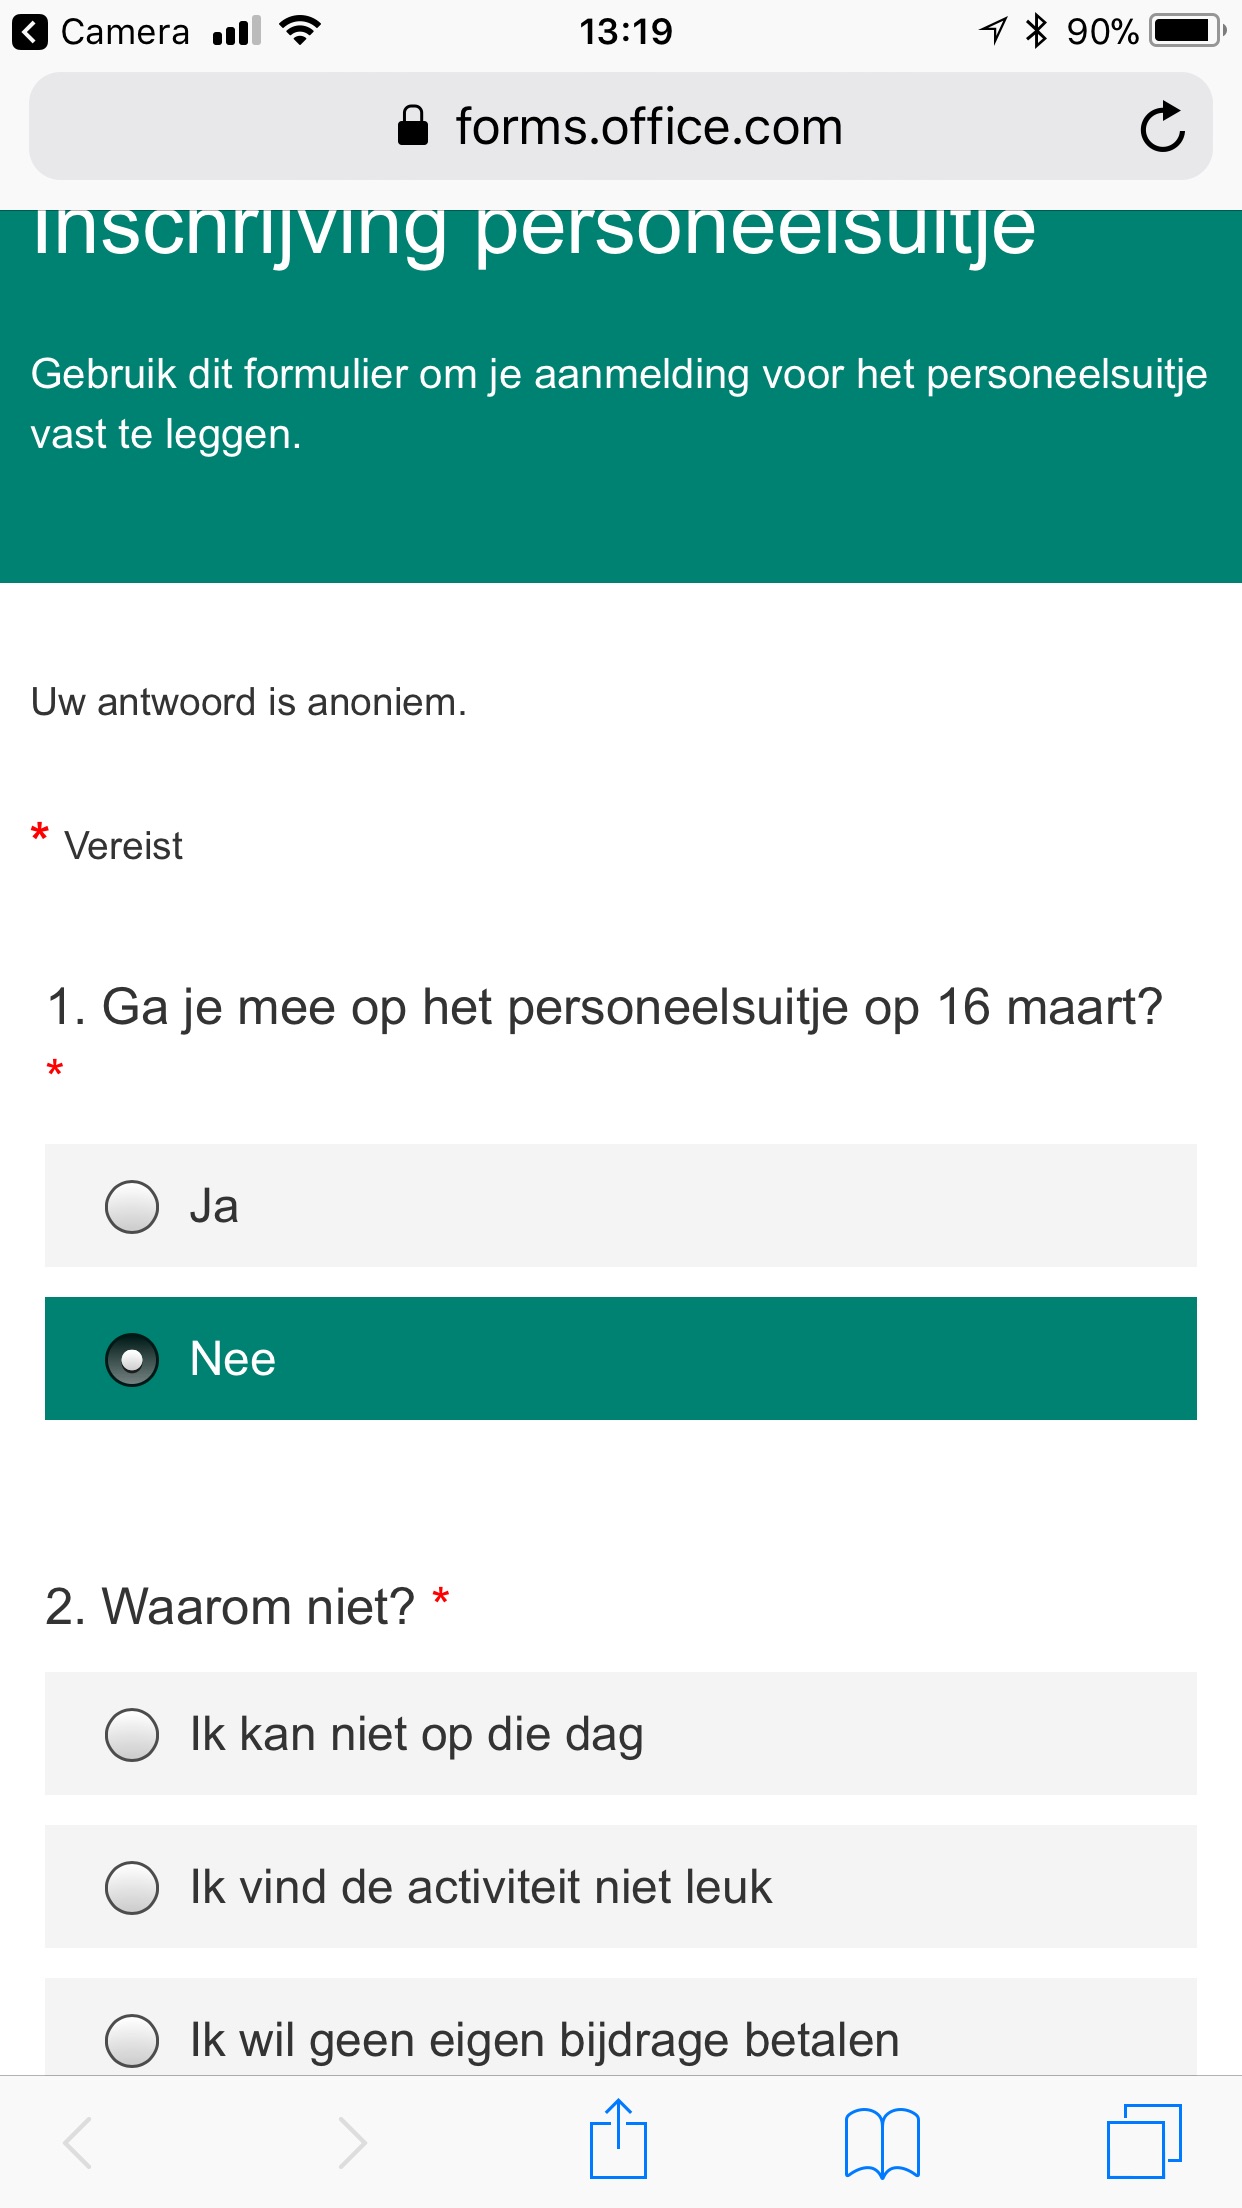
The forms render great on both regular and mobile devices, so you can just send out the link to you colleagues or even have a QR-code generated that you can display around your office so people can access the form from there.
As the creator of the form, you can view the results from the dashboard, or download as an Excel-file. If you want more insights however, you might want to add some extra functionality. For example, I like to have insight in why people won’t be joining, mapped out against their function. Do people that do mostly remote work tend to join less often? Of course, PowerBI is the right tool for the job. But, because the results can only be downloaded as an Excel-file, setting this up can be cumbersome. After each response, you would have to re-download the file to import the new results in PowerBI.
After some testing, we decided to go with a more robust solution: storing the results in a SharePoint list, so we can dynamically get the data from that list. After creating both the form and the list, we set up a task in Microsoft Flow to add new responses to this list.
Flow is one of my favourite tools in Office 365, because it gives you the ability to interconnect almost everything with easy ‘what you see is what you get’ logic. A flow consists of a trigger (something that starts the flow) and one or more actions. These actions can contain ‘dynamic content’; content that is determined based on the earlier trigger or actions. For example, when creating a flow from a Microsoft Form, you can use the content supplied in the form in the following actions. In simple written logic, our flow contains a trigger (the fact that a new response was submitted to our form), a first action (get the details of this response) and a second action (insert these details into a SharePoint list).
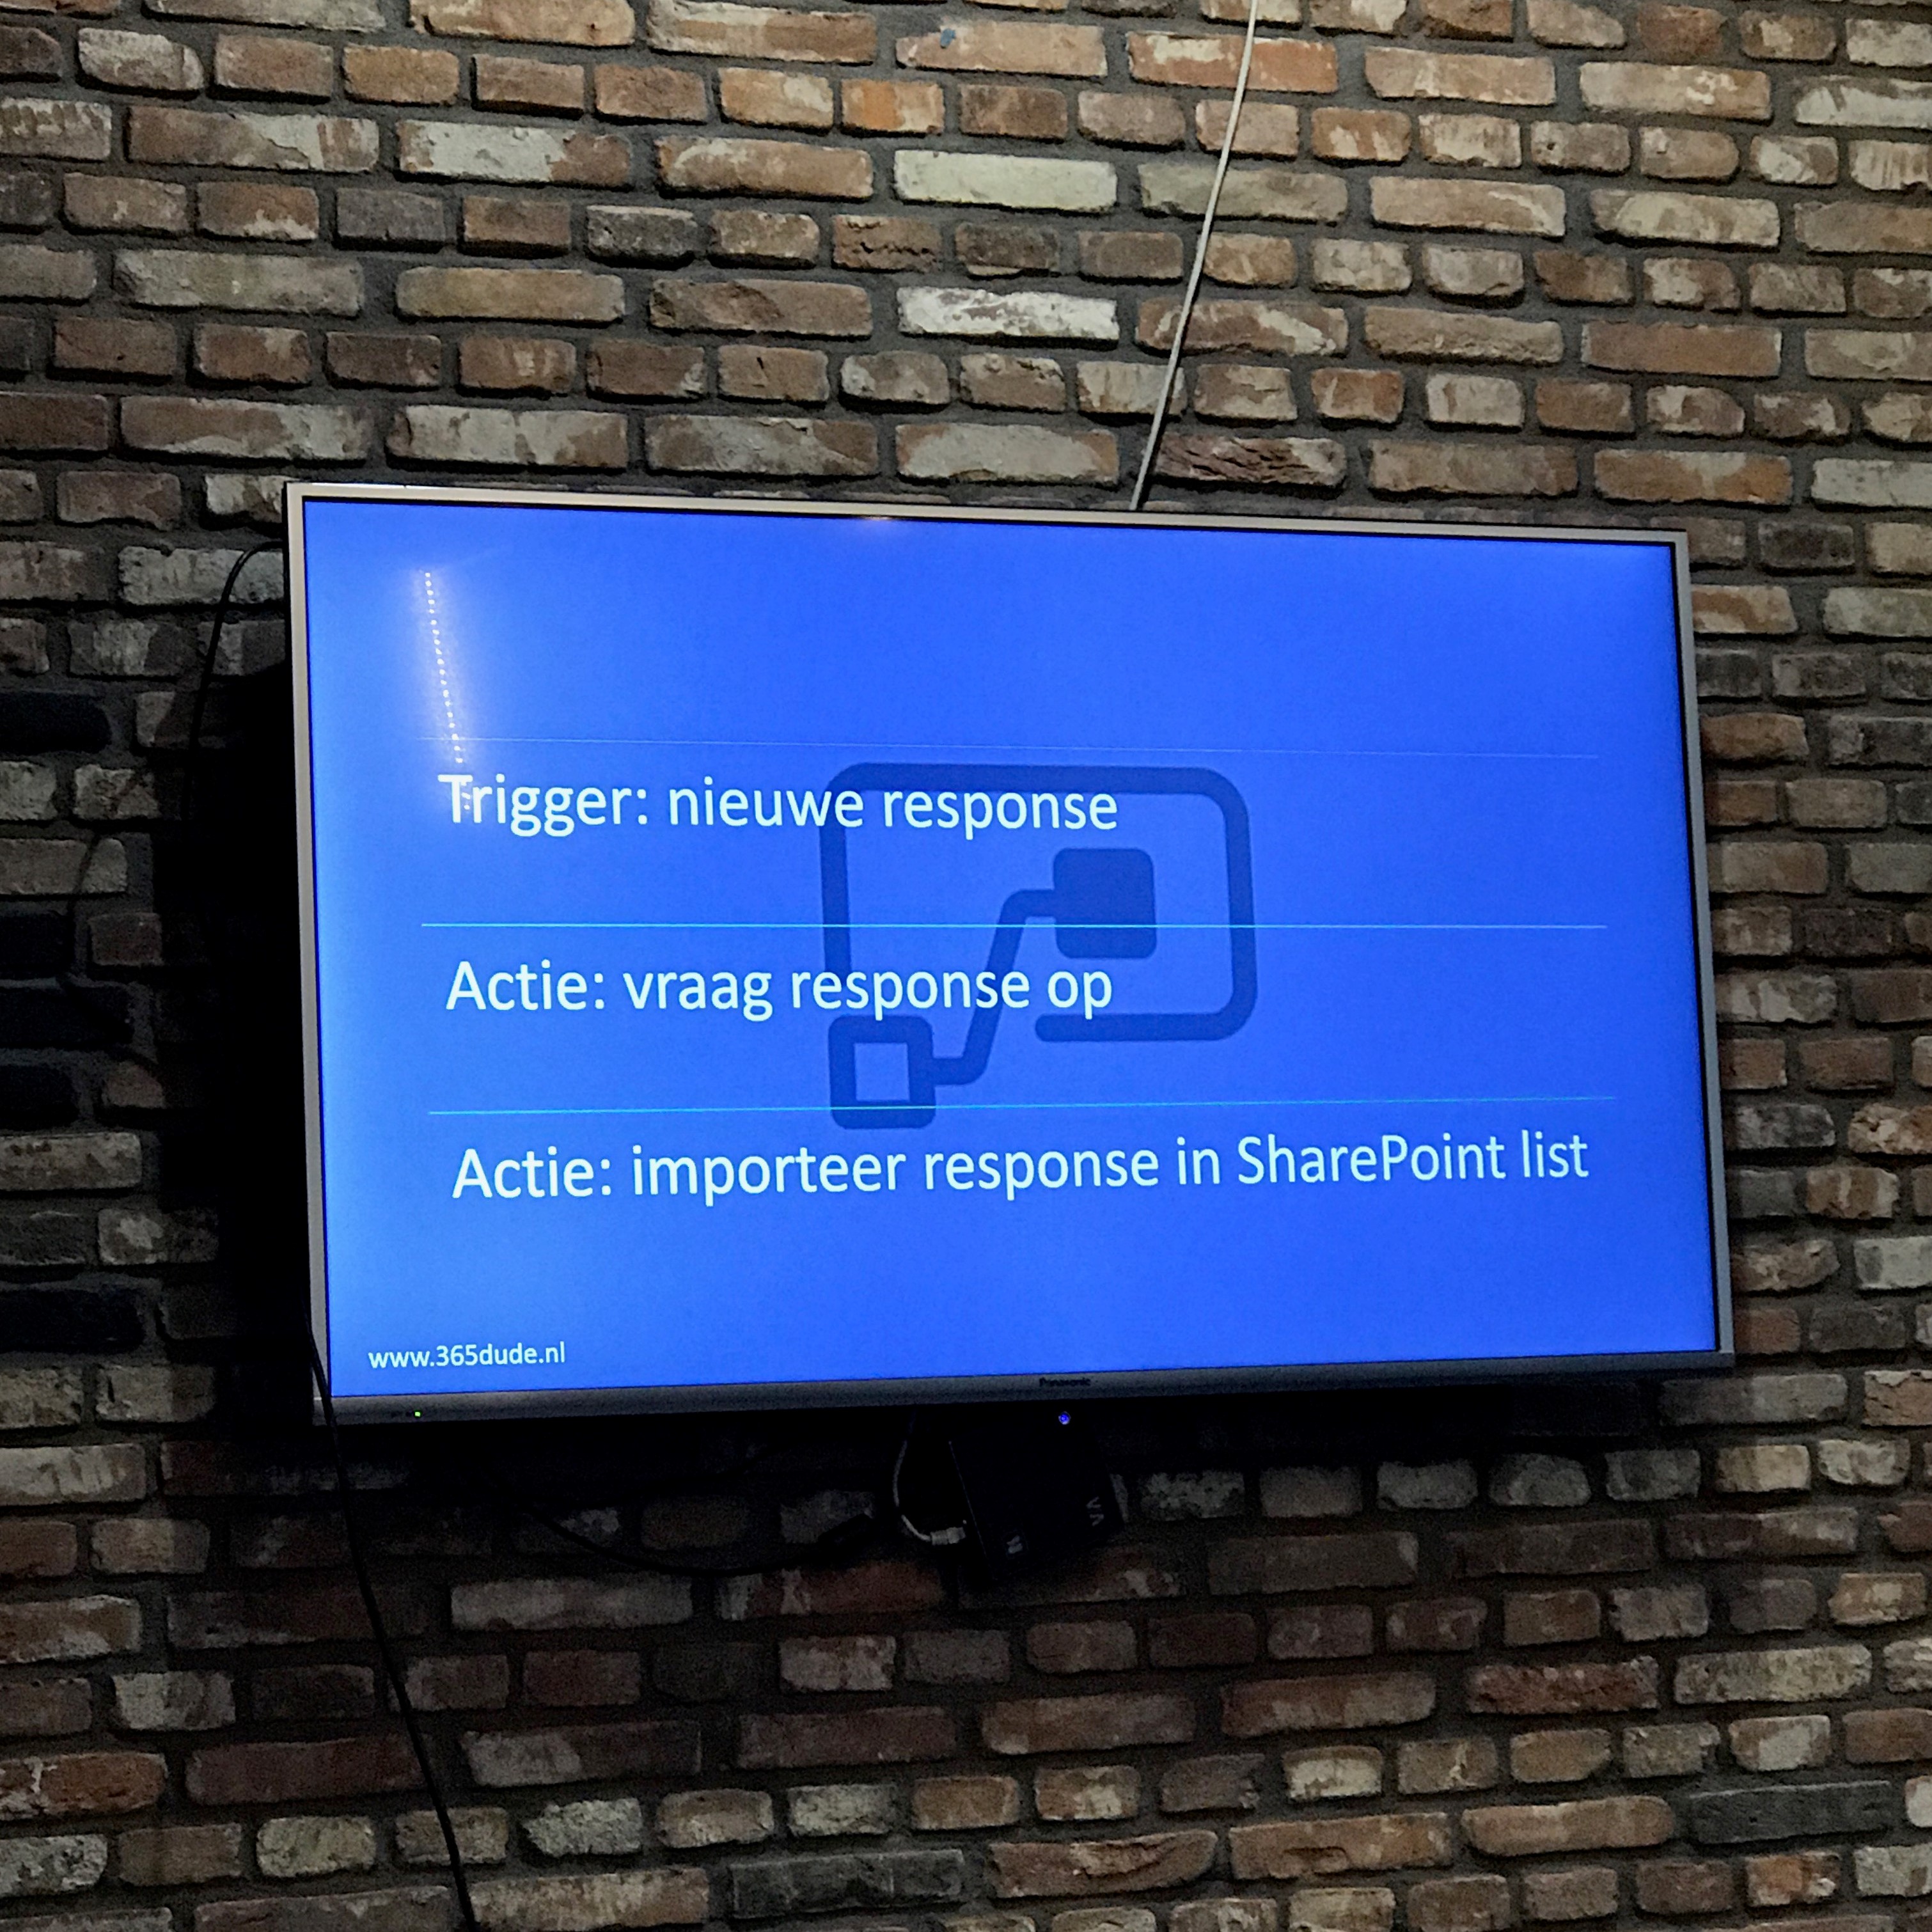
So, how does this look like inside Flow? When creating a flow, we first have to define the trigger. In this case, we use the ‘MS Flow’ connector and define the trigger as a new response to our form.

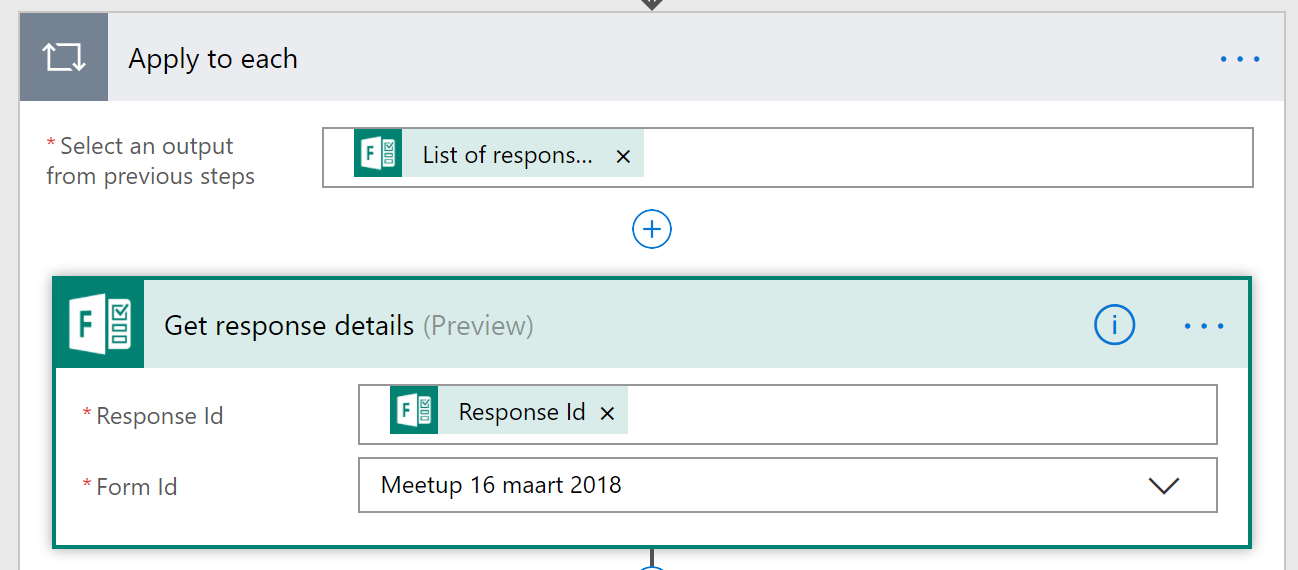
Here, the Form ID is the name we gave our form when creating it.
So, after the trigger we need to define an action. We need to use the dynamic content with responses from our form to insert into the SharePoin list, but the dynamic content from this trigger only includes the response id, the unique id of the responses for this entry. Therefore, we can’t use this to insert into the list, but we are able to use this response id to fetch the additional details of the response.
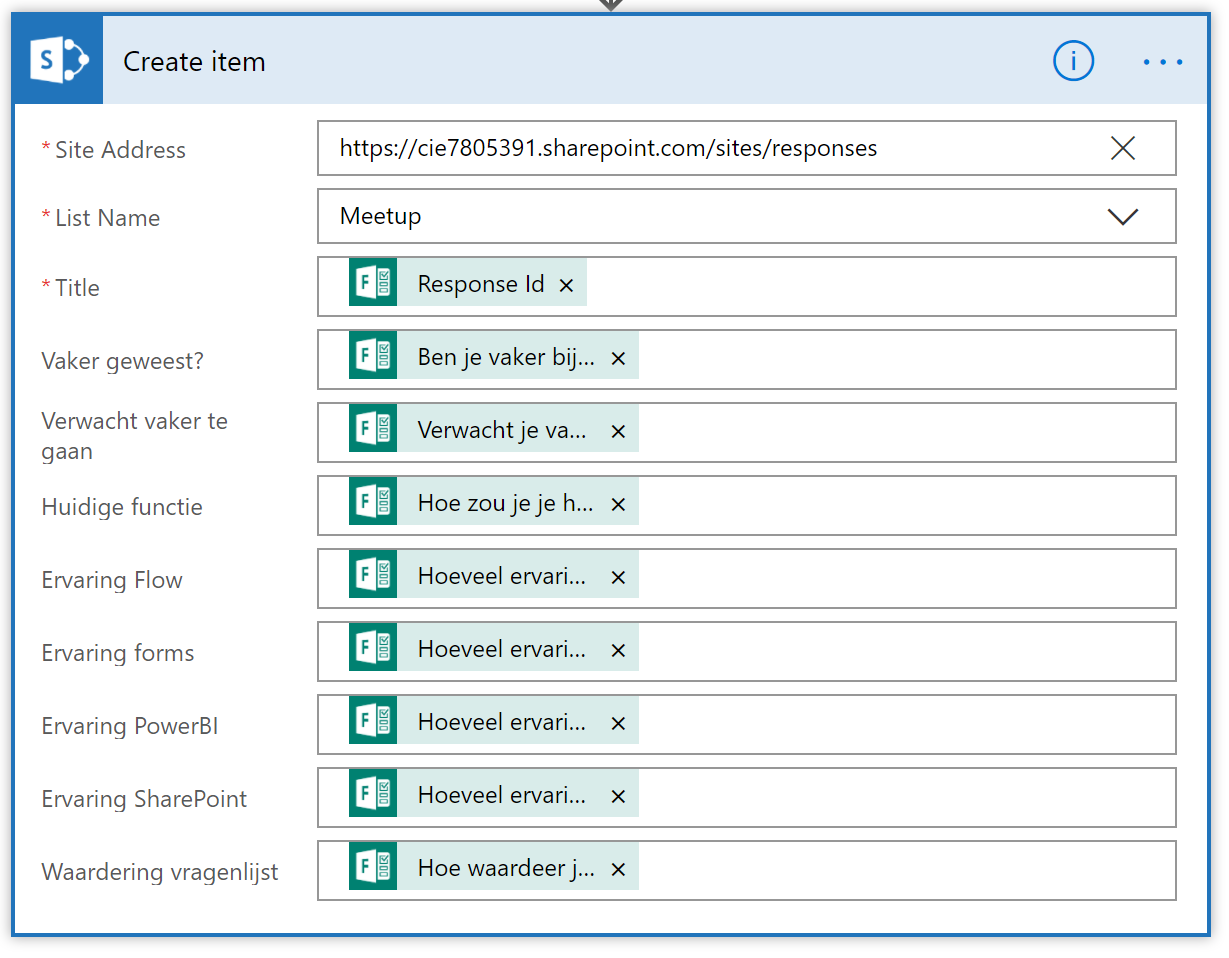
When setting to action to be ‘create item’ in the SharePoint connector, we submit our site address en select the list we would like to create the item in. Flow then reads the list en populates the action with all columns in the list. We can the place the dynamic content from the form to fill out the columns.
The result is a SharePoint list that will dynamically update when responses are submitted. In the flow interface, we can watch the results come in!
So, from here on you can do almost anything you like with the data. We used PowerBI to aggregate the data from the list to create a visual dashboard. Of course, you can choose to display this dashboard in the Microsoft Teams you use within your organisation, for example.
There you have it: all the data you need, in a nice format, automatically updating dashboards, and you didn’t even need to hire a developer to get them!